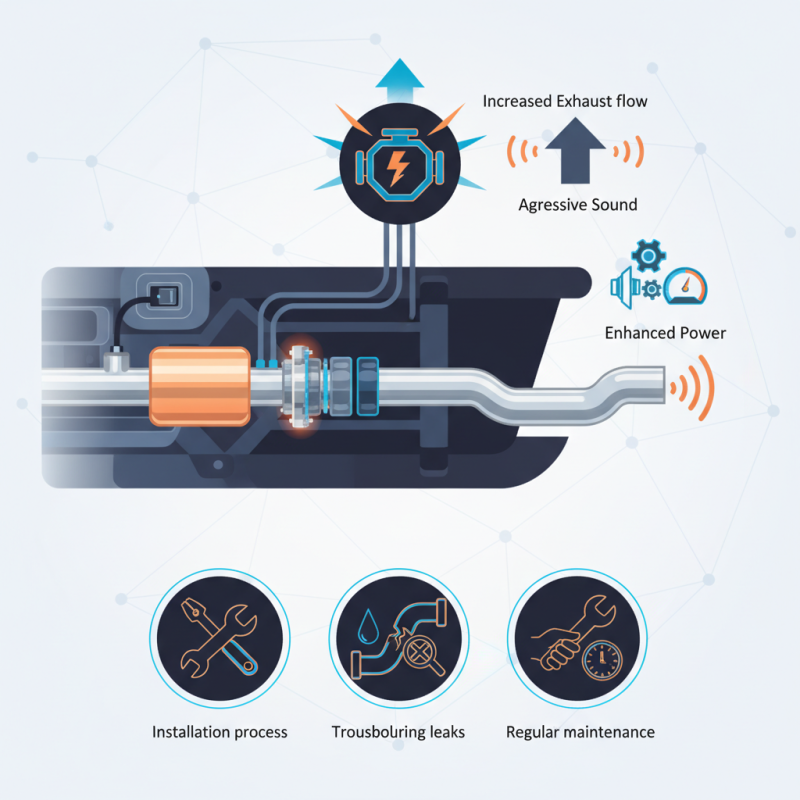
How to Install an Electric Exhaust Cutout for Better Performance?
Installing an Electric Exhaust Cutout can transform your vehicle's performance. This modification allows for increased exhaust flow. It enhances the engine's power and adds an aggressive sound.
The process of installation is straightforward, yet attention to detail matters. Finding the right spot for the cutout is essential. The materials required include the cutout itself, a switch, and wiring. Sometimes, the installation may not go as planned, leading to leaks. Troubleshooting is part of the journey.
With an Electric Exhaust Cutout, drivers often experience a noticeable difference. However, they must be prepared for maintenance. Regular checks can ensure long-lasting performance. This upgrade can be rewarding if done correctly. Understanding the process is key to maximizing benefits.
Understanding Electric Exhaust Cutouts and Their Benefits
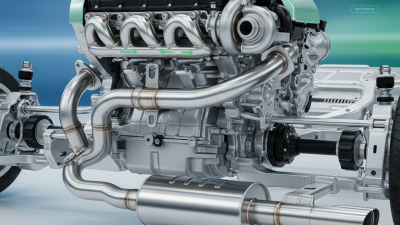
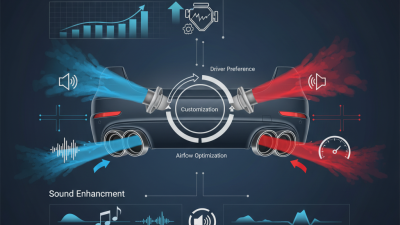
Electric exhaust cutouts offer a clever way to enhance your vehicle's performance. These components allow you to control exhaust flow. By opening or closing the cutouts, you can adjust the sound and efficiency of your engine. This flexibility can be vital when you want to maximize power during racing or enjoy a quieter ride on daily commutes.
Benefits of electric cutouts are clear. They can improve horsepower and torque. More importantly, they create a unique sound that enthusiasts crave. However, improper installation may cause leaks or performance issues. It's essential to ensure all connections are secure. Taking your time can save you from future headaches.
Tips for installation: Always check compatibility with your exhaust system. Use high-quality wiring to avoid shorts. Ensure the cutouts are positioned correctly for optimal airflow. Test the system multiple times. This might reveal areas that need adjustment or improvement. Remember, the performance gains may not be noticeable right away. Patience is key as you learn how to harness this modification effectively.
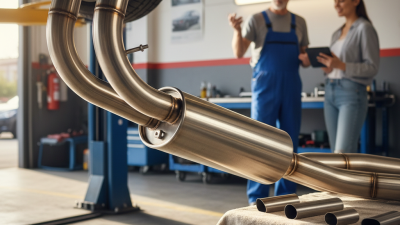
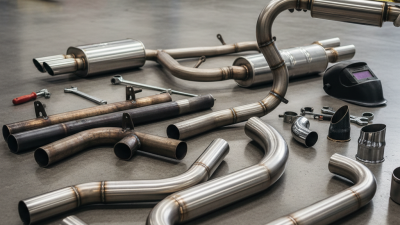
Necessary Tools and Materials for Installation
To install an electric exhaust cutout, you need specific tools and materials.
Gather a socket set, wrenches, and screwdrivers. A drill will be essential for creating new mounting holes.
You’ll also require wire strippers and connectors for electrical work. Don't forget safety goggles and gloves for protection.
It’s important to have the cutout kit on hand.
Check the kit for all necessary components. An installation guide can be helpful but may not cover every detail.
If something feels unclear, do your own research. Sometimes, the fit might not be perfect. Adjustments might be necessary, so be patient.
Remember, proper clearance is critical.
Ensure that the cutout does not interfere with other components. It can get tricky if you rush.
A clean workspace is vital. You’ll appreciate a tidy area when you're focused on installation.
If you make a mistake, it can lead to performance issues. Take your time and double-check every step.
Step-by-Step Guide to Installing the Electric Cutout
Installing an electric exhaust cutout can enhance your vehicle's performance significantly. This guide outlines the steps to install it correctly. Electric cutouts can boost horsepower by 10-15% in some applications, according to automotive performance reports. This performance increase makes a substantial difference in acceleration and throttle response.
Begin by selecting the right location for installation. The cutout should be installed in the exhaust system, preferably before the muffler. Mark the position carefully. Prepping the surface is vital for proper adhesion. Cut the pipe carefully and ensure that debris doesn't enter the system. A clean cut will avoid leaks and ensure a good seal.
Tips: Always wear safety gear during installation. Measure twice, cut once. This phrase holds true; mistakes can cost time and money. Once the cutout is installed, connect the wiring to your vehicle's power source. Make sure the electrical connections are secure. Test the cutout's operation before driving. A improperly connected cutout can lead to performance issues or even damage to your exhaust system. Remember, proper installation leads to better performance. Adjustments may be needed to ensure optimal operation.
Wiring the Electric Exhaust Cutout for Operation
Wiring the electric exhaust cutout is a crucial step for optimal operation. Begin by ensuring you have all necessary tools. You will typically need wire connectors, a multimeter, and a basic toolkit. Choosing the correct location for the cutout is key. It should be accessible for future adjustments. Take your time during this step.
Next, you’ll need to connect the cutout to a power source. Locate a fused ignition source, as it will provide power when the ignition is on. Strip the wire ends to prepare for connection. Make sure to securely fasten each connection. Poor connections can cause issues down the line. Test connections using a multimeter to ensure functionality.
Don’t forget to ground your cutout properly. A reliable ground connection is essential. It can prevent unexpected behavior and ensure consistent performance. After installation, run the vehicle and observe the cutout in action. Listen for unusual sounds. If you notice any discrepancies, revisit your connections. This reflection can save time and improve performance in the long run.
Performance Benefits of Installing an Electric Exhaust Cutout
This chart illustrates the performance benefits of installing an electric exhaust cutout in terms of horsepower gain, torque increase, and sound decibel levels compared to a standard exhaust system.
Testing and Tuning for Optimal Performance Improvement
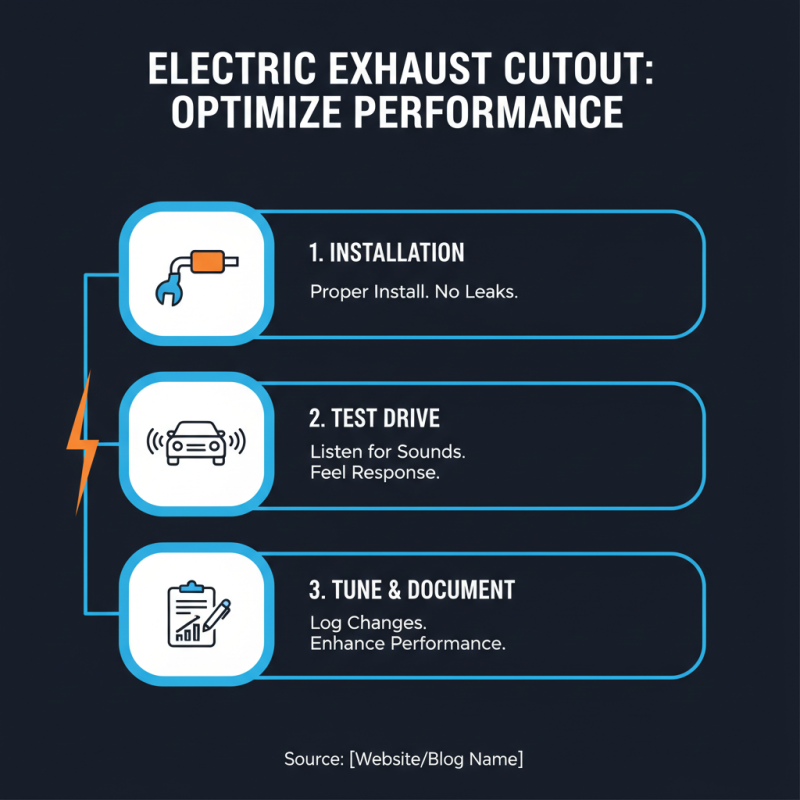
When it comes to electric exhaust cutouts, testing and tuning are crucial steps for enhancing performance. Begin by installing the cutout properly to avoid leaks. After installation, take your vehicle for a test drive. Listen for any unusual sounds. Pay attention to your vehicle's response. Document any changes in acceleration and sound.
Next, consider tuning your engine management system. Using a diagnostic tool can help identify performance metrics. Monitor air-fuel ratios closely. Adjustments may be necessary to achieve optimal gains. Explore different exhaust valve positions during tests. Finding the right balance is key. Remember, results can vary based on many factors.
Don't overlook the importance of feedback. Engage with fellow enthusiasts. Share your experiences and learn from theirs. Sometimes, what seemed perfect can fall short. Have patience with the process and be willing to make adjustments. Testing is an ongoing journey, not a one-time event. Each tweak offers a chance for improvement.
 +86 17870576410