7 Tips for Buying the Right Vehicle Exhaust Pipe
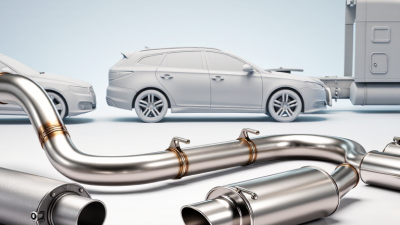
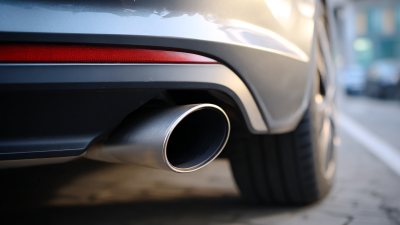
Choosing the right Vehicle Exhaust Pipe is more important than matching a shiny part to your car. The pipe must fit the engine, emissions system, chassis, and intended driving conditions. A slight mismatch can create leaks, rattling, poor ground clearance, or unnecessary repair costs. Real experience matters here: a pipe that looks correct online may fail when its flange angle differs by only a few degrees.
Industry data supports careful purchasing. S&P Global Mobility reported that the average age of vehicles in the United States reached about 12.6 years in 2024. Older vehicles often need exhaust repairs because heat, road salt, moisture, and repeated vibration weaken metal joints. The U.S. Environmental Protection Agency’s Automotive Trends Report also tracks fuel economy and carbon dioxide performance, reminding buyers that exhaust components affect more than appearance. They connect with emissions control, engine efficiency, and long-term vehicle performance.
Fitment comes first.
This guide presents seven practical tips for choosing a reliable Vehicle Exhaust Pipe. It considers pipe diameter, material quality, corrosion resistance, sensor openings, noise levels, installation requirements, and supplier credibility. SAE technical practices and manufacturer specifications can help verify measurements, but they do not replace a physical inspection. That point is easy to overlook. A product listing may show a familiar model year, yet regional variations or previous modifications can change the required part.
Look beneath the vehicle before ordering. Check the existing pipe, welds, hangers, bends, and connection points. A measuring tape, flashlight, and vehicle identification number can prevent an expensive mistake. The best purchase balances durability, compliance, sound, and realistic driving needs—not exaggerated marketing claims.
Identify the Exhaust System: SAE J1930 Defines Pipe and Component Terms
7 Tips for Buying the Right Vehicle Exhaust Pipe
Identify the Exhaust System: SAE J1930 Defines Pipe and Component Terms
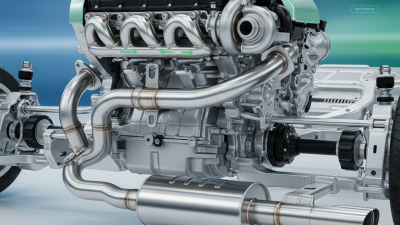
Before buying an exhaust pipe, identify its exact position. SAE J1930 terminology helps separate the exhaust manifold, front pipe, intermediate pipe, muffler, resonator, and tailpipe. These names describe function and location, not merely shape. Check whether the pipe carries gases from the engine, through emissions-control equipment, or toward the outlet.
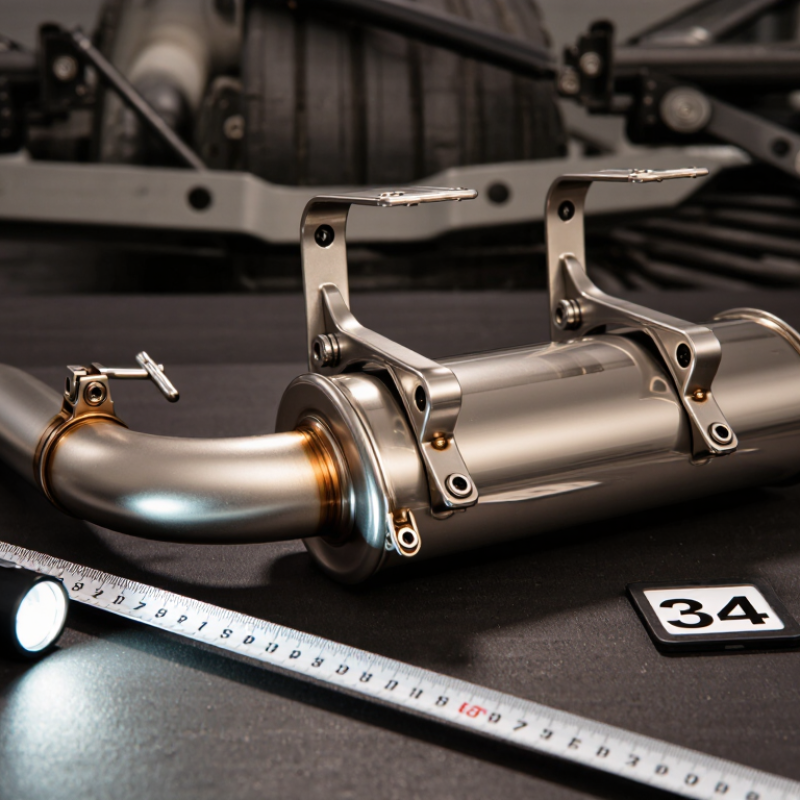
Measure carefully. Record pipe diameter, overall length, bend direction, wall thickness, and connection style. Confirm whether the joint uses a flange, sleeve, gasket, or clamp. Look for oxygen-sensor ports and hanger brackets. A pipe can look correct but still fail to align under the vehicle. That mistake is surprisingly common.
Use the vehicle’s engine size, body configuration, model year, and drive layout when matching parts. Compare the catalog description with the service manual and the existing pipe. SAE J1930 terms improve communication, but they do not replace vehicle-specific measurements. Inspect rust around seams and mounting points before ordering. I once focused on diameter and overlooked a missing hanger location. The replacement fit poorly and transferred vibration into the cabin. Leave room for doubt. Ask for a technical drawing when the listing lacks measurements, and verify whether the part is designed for the original emissions system.
Match Pipe Diameter to Engine Output: 2–3 Inches Fits Many Street Vehicles
7 Tips for Buying the Right Vehicle Exhaust Pipe
Pipe diameter should match the engine’s output, not simply look larger. For many street vehicles, a 2–3 inch pipe provides a practical balance between flow, noise, and low-speed response. Smaller engines may lose useful exhaust velocity with oversized tubing. Larger engines can need more capacity, especially under sustained load. Check the engine size, power level, and existing outlet diameter before ordering.
Tip: Measure twice, then compare the measurement with the vehicle’s service information. A tape measure can reveal the outer diameter, while the actual connection may require the inner diameter. I have seen buyers select a pipe that fits the measurement but fails at the flange. That small mistake creates leaks, extra labor, and frustration. Check bend angles, hanger locations, inlet length, and clearance near the floor or suspension.
A smooth mandrel bend usually maintains better internal flow than a sharply crushed bend. Material thickness also matters when the vehicle faces wet roads, winter salt, or frequent short trips. Stainless steel can resist corrosion, but proper fit remains more important than appearance.
Do not assume maximum flow always improves performance. An engine may feel weaker at low speed after an overly large installation. Confirm emissions and noise requirements for your area before fitting the pipe. A qualified exhaust technician can verify alignment, leaks, ground clearance, and safe heat spacing. My own preference is to recheck the fit after the first drive, because metal can settle slightly as it warms.
Choose Material Wisely: 409 Stainless Steel Contains About 11% Chromium
7 Tips for Buying the Right Vehicle Exhaust Pipe
Choose Material Wisely: 409 Stainless Steel Contains About 11% Chromium
A vehicle exhaust pipe faces heat, moisture, road salt, and repeated cooling. 409 stainless steel contains about 11% chromium, which helps form a protective oxide layer. It is a practical choice for many exhaust systems. Its ferritic structure handles heat cycling well. However, it is not completely rustproof. After several winters, light surface discoloration may appear, especially near welds and exposed joints. I have seen clean-looking pipes develop brown patches after one season in salty conditions. That detail is easy to overlook.
Tips: Check the pipe’s wall thickness before buying. Confirm that its diameter matches the vehicle’s existing system. Inspect welds for even, continuous beads. Ask whether the pipe is truly 409 stainless steel. Compare the connector shape and hanger positions. Look for smooth bends, not sharp flattened sections. Consider local weather and road-salt exposure.
A good fit prevents leaks and unnecessary vibration. Hold the replacement beside the original pipe before installation. The inlet, outlet, and mounting points should align naturally. For daily driving, 409 stainless steel often balances durability and cost. For severe coastal exposure, another material may deserve consideration. That choice is not always obvious. Some buyers focus only on chromium content and forget installation quality. A strong material can still fail when thin walls, poor welds, or trapped moisture are present.
Verify Emissions Compliance: EPA Standards Govern Catalytic-Converter Fitment
When buying a vehicle exhaust pipe, emissions compliance deserves close attention. EPA standards govern catalytic-converter fitment, not just pipe diameter or hanger position. A pipe that looks identical may disturb oxygen-sensor readings or converter performance. That can trigger a warning light and cause an emissions test failure.
Check the vehicle’s model year, engine size, fuel type, and emissions equipment before ordering. A direct-fit assembly should match the original converter location and sensor ports. Ask for clear compliance information and installation instructions. Keep the receipt and product documentation. These details can support proper servicing later.
I once assumed two similar exhaust sections were interchangeable. That assumption was expensive. The sensor opening sat several inches away, creating installation problems. Measure carefully. Compare inlet and outlet diameters, flange shapes, heat shields, and hanger points. Do not remove, bypass, or alter emissions equipment. Such changes may violate applicable rules and can increase harmful pollution. State requirements may also be stricter than federal standards, so verify local inspection rules before purchase. A qualified technician can confirm fitment using the vehicle identification number and the original exhaust layout. Mistakes happen. Careful verification prevents most of them.
Confirm Fitment and Durability: Use VIN Data, 3D Measurements, and Wall Thickness
7 Tips for Buying the Right Vehicle Exhaust Pipe
Confirm Fitment and Durability: Use VIN Data, 3D Measurements, and Wall Thickness
A correct exhaust pipe begins with verified vehicle data, not a promising photograph. Record the VIN, model year, engine size, transmission, and body style. VIN databases can contain errors. Cross-check the result with the vehicle service manual and the existing pipe. A small mismatch can create leaks, vibration, or difficult installation. I once trusted a catalog listing without checking the engine code. The pipe looked right, but its flange angle was wrong.
Measure the original part before ordering. Use a 3D scanner when available, or take careful measurements with calipers and flexible tape. Compare overall length, bend radius, inlet diameter, outlet diameter, and hanger locations. Check clearance near the floor pan and heat-sensitive components. Do not trust appearance alone. Real vehicles may differ after repairs or previous modifications. I still prefer physical measurements, even when digital data seems complete.
Wall thickness strongly affects service life. Use a calibrated micrometer on straight sections, bends, and welded areas. Thin bends may crack sooner, especially where vibration concentrates. Inspect weld penetration, seam consistency, flange flatness, and surface protection. A neat weld is not always a strong weld. Ask for material details and measured thickness when specifications are unclear. Keep photos and measurements for comparison. This step feels slow. It can prevent an expensive mistake.
Common Exhaust Tubing Wall Thickness by Material
Typical exhaust tubing is commonly produced with wall thicknesses around 1.2–1.5 mm. Use the vehicle VIN to confirm the correct application, compare the replacement pipe with 3D measurements, and verify actual wall thickness before installation because dimensions vary by vehicle, pipe section, and supplier.
 +86 17870576410